Welcome, jerks.


Yeah, I got the fever. Three or four years ago, a rabid, red-eyed zombie sank its rotten teeth into my arm and thus I was infected with a peculiar strain of irrational obsession. Since then I have breathed, eaten, and slept bikes and almost nothing else. Maybe a vaccine will be invented, or maybe it'll simply pass, but until then I'm a slave to my compulsion to buy, transport, take apart, degrease, scour, lube, polish, assemble, tune, tighten, align, wax, buff, and yes, ride, ride, ride these magical two-wheeled machines.

So, the idea is, on this page I'm going to post pictures and perhaps stories of bikes that I've refurbished and ridden or ones that are in the process or recently completed. Maybe it'll expand from there. We'll see, I guess.

Friday, June 21, 2013

Miyata Porteur(ish) Build

I've been jonesing to do a porteur-inspired build for a long time now. When I recently came across a good deal on an '86 Miyata 210, it seemed like the perfect opportunity to give it a go. The 210 was Miyata's entry-level tourer throughout the '80s, and while it featured a number of impressive specs for its pricepoint (splined-triple-butted tubing, cantilever brakes, forged dropouts, double eyelets front and rear), it's not exactly collector material, so I felt free to reinvent it to my own liking.

The previous owner had ridden this bike hard, so the paint was quite rough when I got it.


Often when I buy a bike with rough paint, I'm able to rejuvenate it with a mild abrasive wash and a polishing. You'd be surprised what's possible with this simple method. This bike, though, was just too far gone. Even after cleaning it up as much as possible, it still looked like hell:


First order of business, then: a fresh powder coat. After some consideration, I settled on sage green as my color of choice. I had in mind something like this ANT bike. Unfortunately, that color wasn't available at my local powder coater, Melrose Metal Finishing. Much to their credit, they offered to special order a small amount of the next closest shade for a reasonable charge. (This is particularly impressive considering that this was only a very small job compared to their usual fare.) Nonetheless, picking a color from a small swatch on a computer screen is dicey business and I learned the just how dicey when I picked up the freshly powdered frame:


Much brighter (and bluer?) than I expected! Needless to say, I was pretty surprised. Once the initial shock wore off, though, the color quickly began growing on me. After awhile I decided to embrace the vicissitudes of fate. In other words, f*ck it, I'd go with the flow.

My initial color ideas (silver housing, cream tires, dark brown saddle, all silver brake levers) went out the door and through a combination of happenstance and deliberation I settled on: light brown housing, tanwall tires, honey-colored saddle and bar wrap, bars that are halfway between the classic porteur shape and the north roads style (VO Belleville), a tall positive-rise stem, French stem shifters, and inverse brake levers with gum-colored bodies. As usual, I favored silver over black components, but after scoring some very nice Campy-Mavic wheels, I opened up to the possibility of grey rims on the this build. I think the dark grey anodizing contrasts nicely with the frame color.


The VO Porteur rack was sort of the impetus for this build. I've long admired it's design so it was a pleasure to actually handle one. Of all the modern porteur racks that I've seen (Soma, Cetma, Gamoh, Pass & Stow), I think this one looks the best. It remains to be seen how well built it is, but I'm optimistic.


The tall stem puts the bars higher up and closer than is traditional on this sort of bike, but I thought that the resulting upright-ish posture would be appreciated by the average urban rider. From what I understand, the French newspaper delivery men who engendered the porteur bike were highly competitive, so it makes sense that they would have favored a more low, aerodynamic riding stance. For regular folks, though, upright makes sense for city riding.


My initial plan was to wrap the bars all the way up to the VO insignia to allow for more padded hand positions, but I compromised to be able to use this honey-colored wrap, which I had already pre-cut with another use in mind. Anyway, I figure that if one wanted to, one could still place the hands farther forward or closer to the stem on the bare bars (as long as it's not too cold out!). I've done this before for fairly long distances on my Soma Oxford bars with no trouble.

A warning to those installing these Dia-Compe inverse levers: be sure to abrade the inside and outside of the little metal "shim" that goes between the bar plug and the inside of the bar, and grease the threads on the fixing bolt to allow a little extra torque. Otherwise, you'll probably find it impossible to install the levers tightly enough to resist twisting. It's not the best design--I much prefer the expanding plugs that came on Suntour barcons and that are still used on other bar-end shifters and levers--but, with a little extra care, it seems to work well enough.


The Brooks B-17 Special saddle is still up for debate. It fits right in aesthetically but I'm not sure it's comfortable enough with the bars mounted so much higher than it. I may spring for a sprung saddle. We'll see.


It's worth noting that in addition to the obvious cockpit alteration, almost all of the 210's original parts got upgraded. These crank arms came from my '88 Miyata 615. In order to restore their look, I removed the worn anodizing and polished the aluminum to a satiny finish. The previous owner had ridden almost exclusively in the middle chainring, so I replaced it with a nearly new one of the same size (44T). The original pedals were lost to time, so I chose to go with these street-shoe friendly MKS touring pedals.


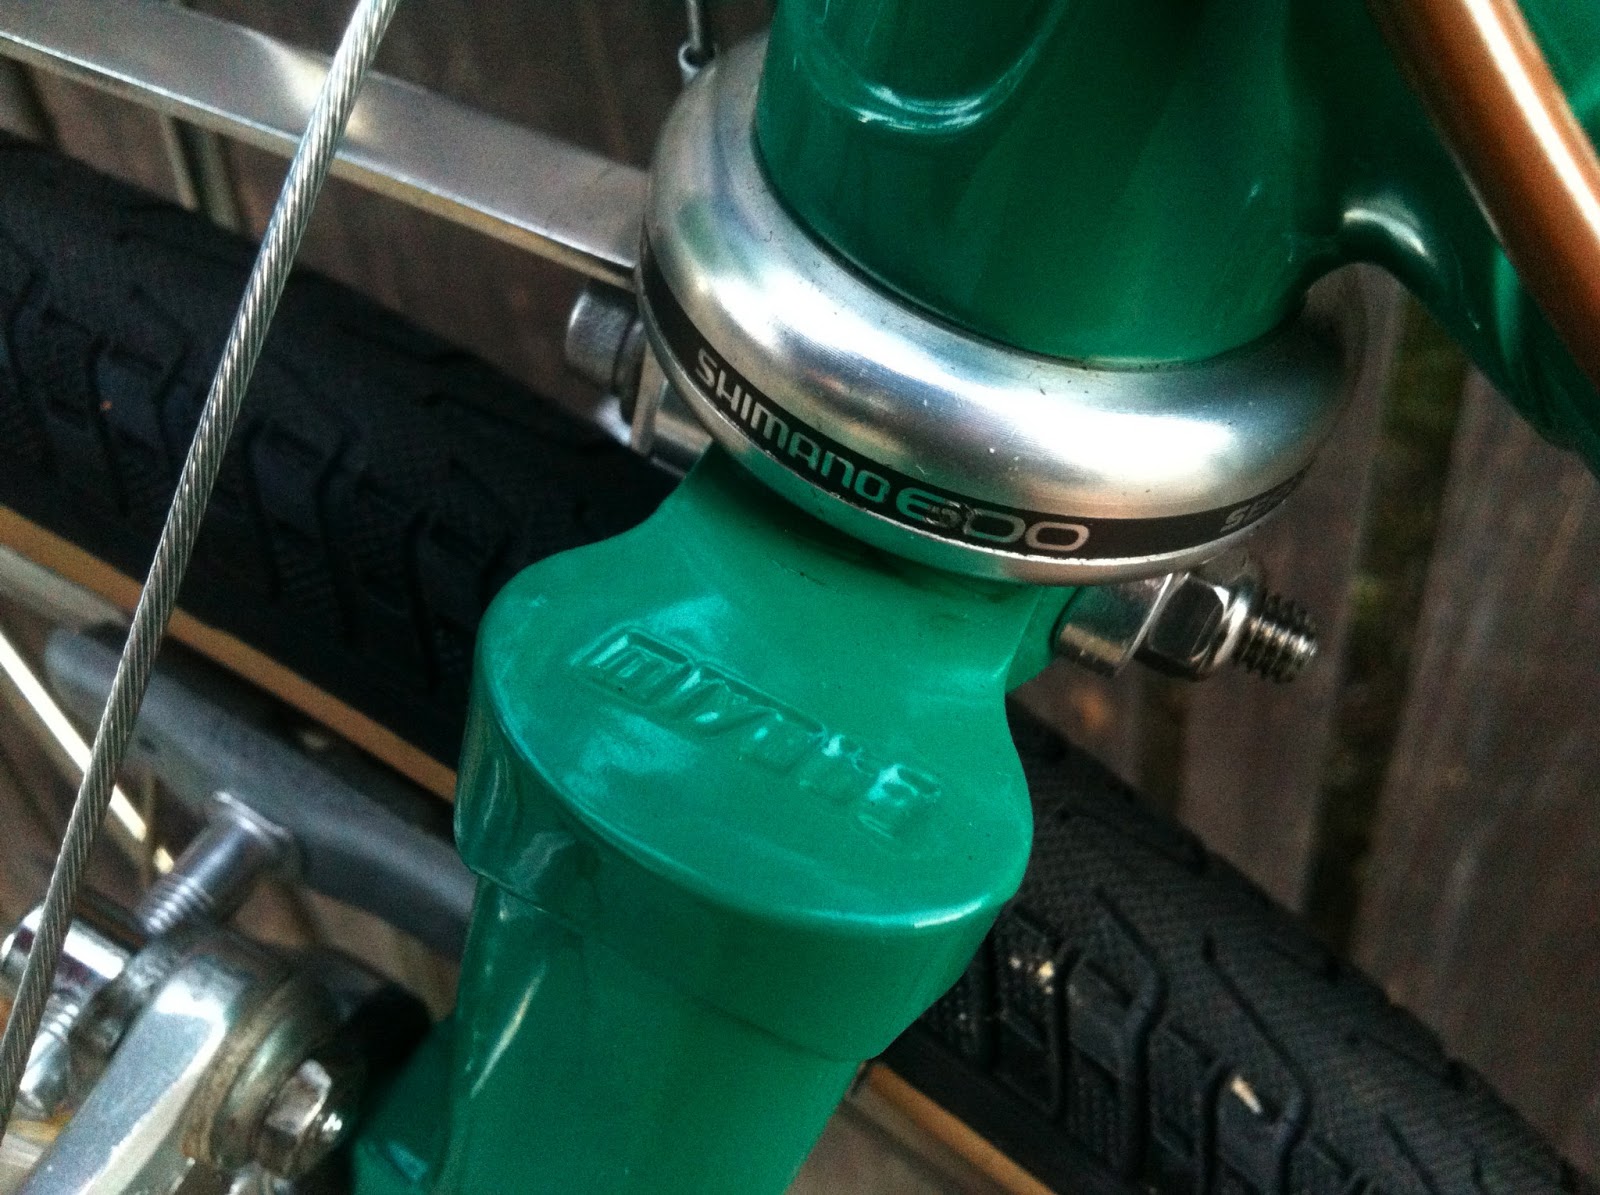
The headset had been upgraded by the previous owner to a well sealed Shimano 600 model, still in very good shape.

My second favorite bit on this build (after the porteur rack) is probably the silky smooth 36H Campy Record hubs. I suppose they're overkill here, but I got a good deal on them and with the Mavic G40 rims, they make for a bombproof wheel set that shouldn't require frequent maintenance.


The 700c rims also comprise an update from the original 27" ones, and they necessitated a brake upgrade as well. The original Dia Compe 960s were replaced with a set of Shimano AT50s that offer greater up-down adjustability.

Even with 35mm tires, there's still plenty of room for fenders.


The original Light Action derailleurs are, along with the seatpost, the only original components. The derailleurs got a thorough cleaning and re-greasing. With a new Shimano ramped freewheel, new chain, lined housing and slick stainless cable, the friction shifting system is as crisp as any I've used. The ratcheting Simplex shifters probably contribute further to a feeling of precision.

The final touch: a hand-fashioned chainstay protector to match the grips.


After a little further testing, she should be ready for her new owner. As always, it's been a ton of fun to build this one up. What do you think of the results?


Monday, May 13, 2013

Bottecchia "Super Commuter"

Very seldom do I buy a bike that's already been restored, but this one was too good to pass up. The previous owner had purchased this Bottecchia as an ugly frame, had it repainted (wet paint with decals and clearcoat, fancy!), and then outfitted it as a fixed-gear "super-commuter" (his words). The "super" part entailed a lot of high-end parts and accessories: a SON dynamo hub and a Phil Wood flip-flop hub, each handbuilt to a sturdy rim; a Supernova E3 light to match the dynohub; ultra-tough Schwalbe tires; Nitto front rack; two Carradice bags; a Brooks saddle; a Paul Components single brake lever; a snazzy chainguard; a wireless cycling computer; and an $80 Wippermann chain! Frankly, I found much of this to be overkill--the owner himself copped to never even using the Paul brake lever--but I figured I could strip things down to a more practical and affordable form and bag a few nice accessories in the process. So I did.

Here's what it looked like when I got it:


I decided that for such a classic-looking frame, it'd be nice to build things up a bit more traditionally. Out went the moustache bars, replaced by a pair of Specialized drops with Suntour Superbe non-aero levers.


 The pitifully weak long-armed side-pull single brake was replaced with a classic set of Mafac Racers. To make these work, I added a Surly chain hanger on the seat post binder bolt. It took some careful filing to seat properly, but in the end it fit perfectly. 


In this photo, near the bottom, you can see how tight the clearance is in the seat-lug slot:


 I also thought it might be nice to have a few gears, so I converted the drivetrain to a 1x6 configuration with down-tube shifters and a bombproof Suntour VX derailleur, ditching the modern wheels in the process.


A set of quill-style pedals with clips and straps to replace the modern clipless ones.


Gold housing to match the Bottecchia decal, and this was as close as I could get to olive twine to match the paint--bright green treated with one coat of amber shellac and two coats of clear.


 And of course I couldn't resist the tanwall tires to offset the olive green paint nicely.


Here she is in full:


Wednesday, May 1, 2013

Fuji Espree Mixte and Cream Tires

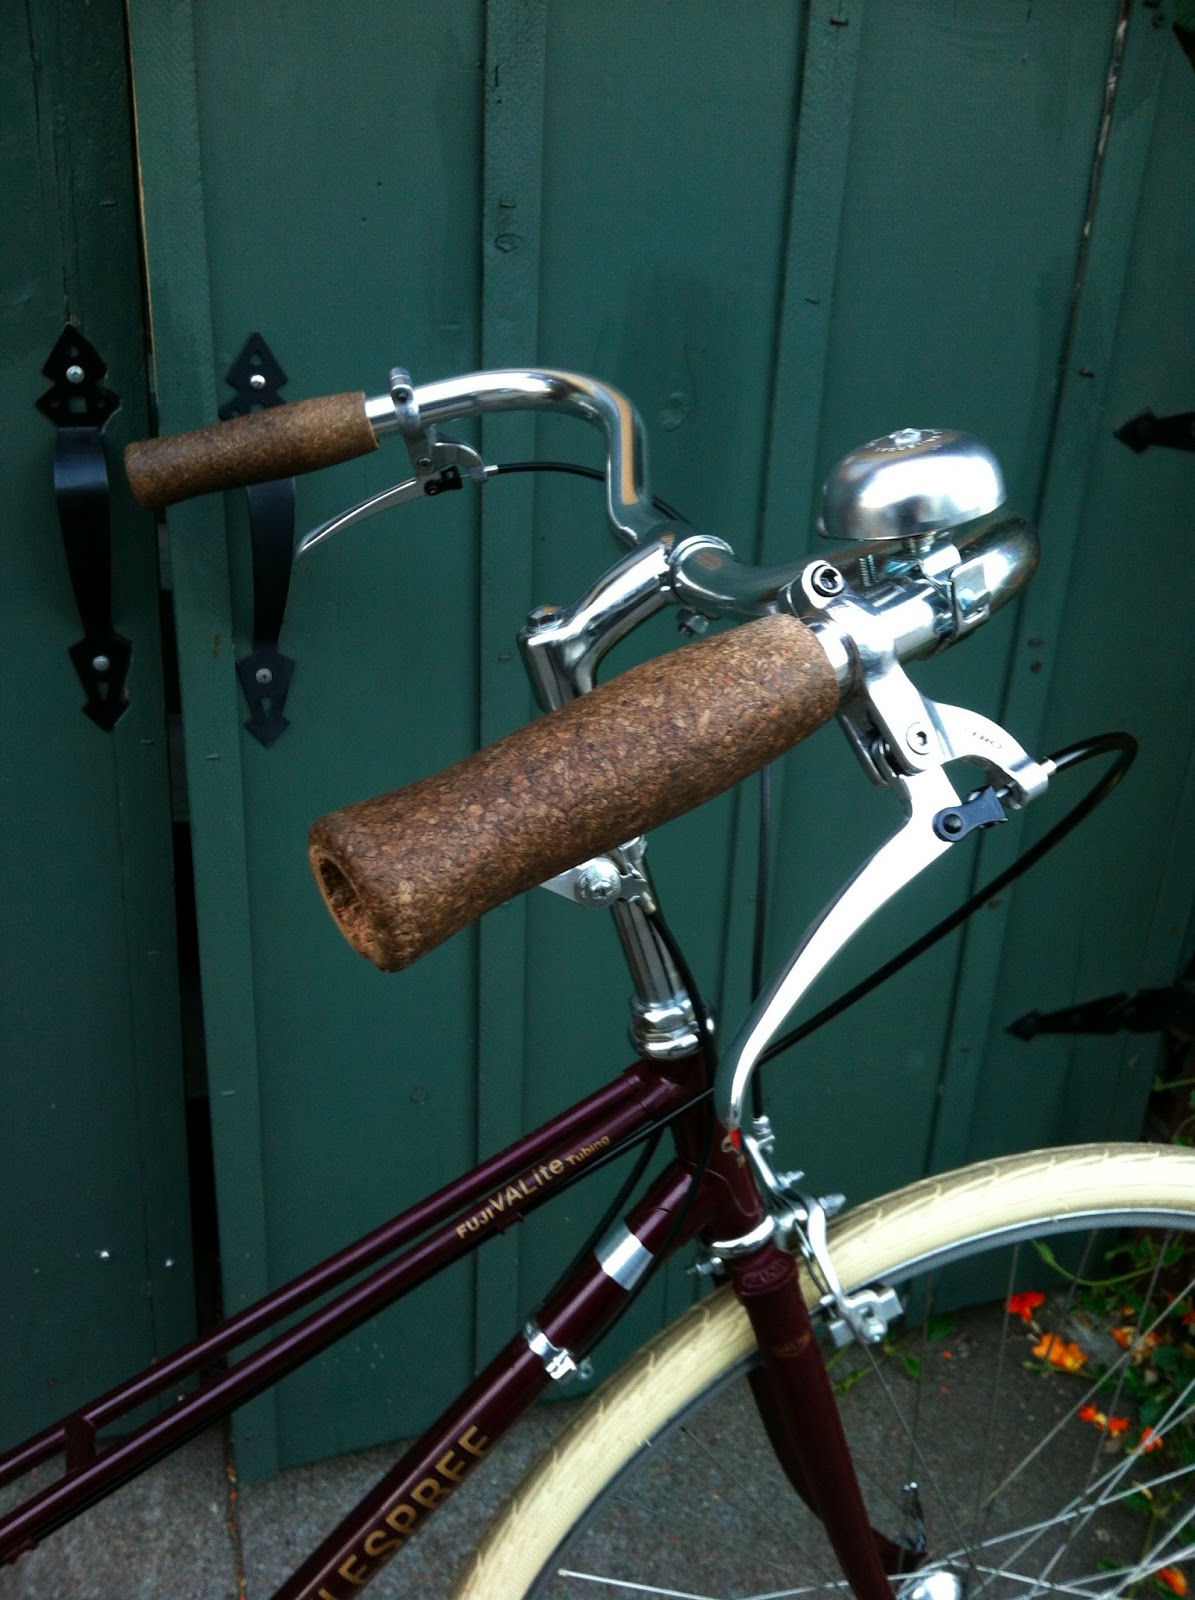
To sleep, perchance to cream... Whoa, wait, I didn't mean to write that. I'm talking about tires here, for chrissakes. Anyway, I can't decide whether or not these cream tires enhance this mixte build or steal all the frame's spotlight. Thoughts, anyone?

My other option, by default, is tan-walled Panaracer Paselas. I think they'd make for a more classic, "tasteful" look overall. I'm just not sure I want to be tasteful in this case. If I were to run Paselas, I could use the original 27" wheels, saving a little dough (whereas the cream Delta Cruisers only come in 700c, requiring a wheel upgrade).

(btw, the gnarly old cork grips are just placeholders until a new pair arrives in the mail, so don't hate on 'em, please)


Update (7/8/13):


Monday, April 8, 2013

Nitto "Raundoneur" Bars: They've Got Flare

The classic randonneur bar shape is one of those subtle things that give a bike that certain je ne sais quoi, even if this sentiment is often rendered in English as, "What the f#@* happened to your handlebars, dude?" That's okay. They're not for everyone, and to be honest, I'm not even sure they're for me. Many folks make claims for their unparalleled comfort (pun intended), but I can't say I notice much difference from "normal" drops. But they certainly do no harm, and if nothing else, they can serve as a conversation starter.


A propos of nothing, I've heard that francophilia is rampant in Japan, particularly vis-à-vis bicycles, but one wonders how deep that fixation runs in light of Nitto's spelling of "raundoneur." Oh well, c'est la vie.